Energy Storage · Application Example
Pre-Terminated Power & Communication Harness Kits for a Containerized BESS
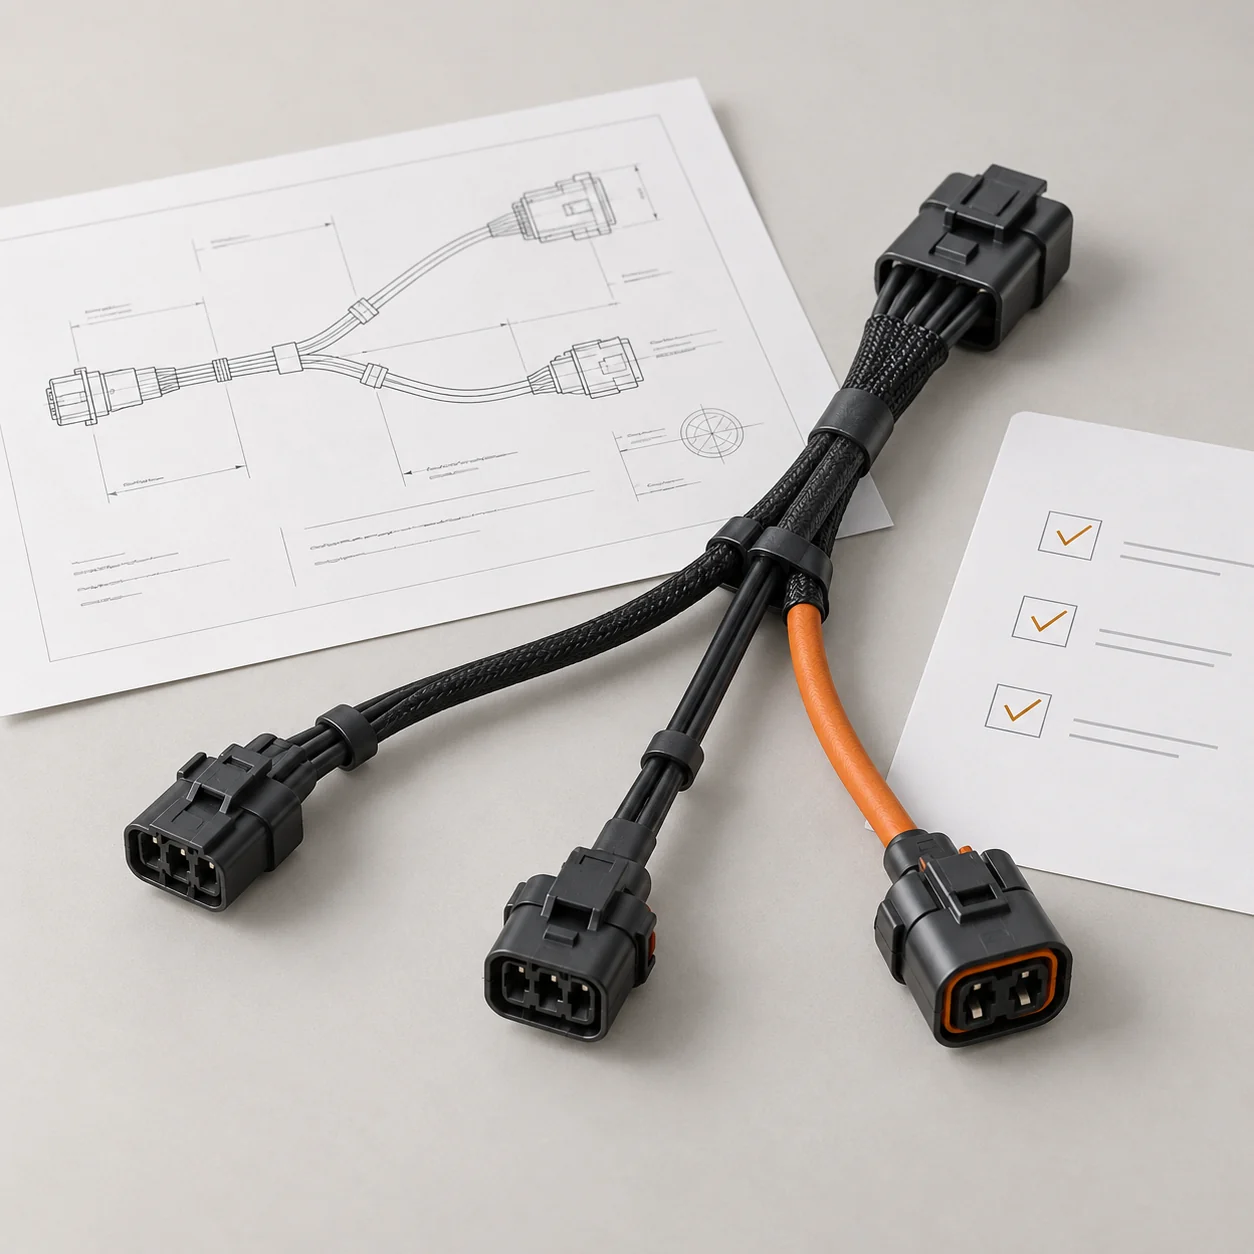
A containerized battery energy storage system can use pre-terminated wiring kits for power, communication and monitoring. This example shows how to prepare one set of cables for each container, from the wiring drawing through packing.
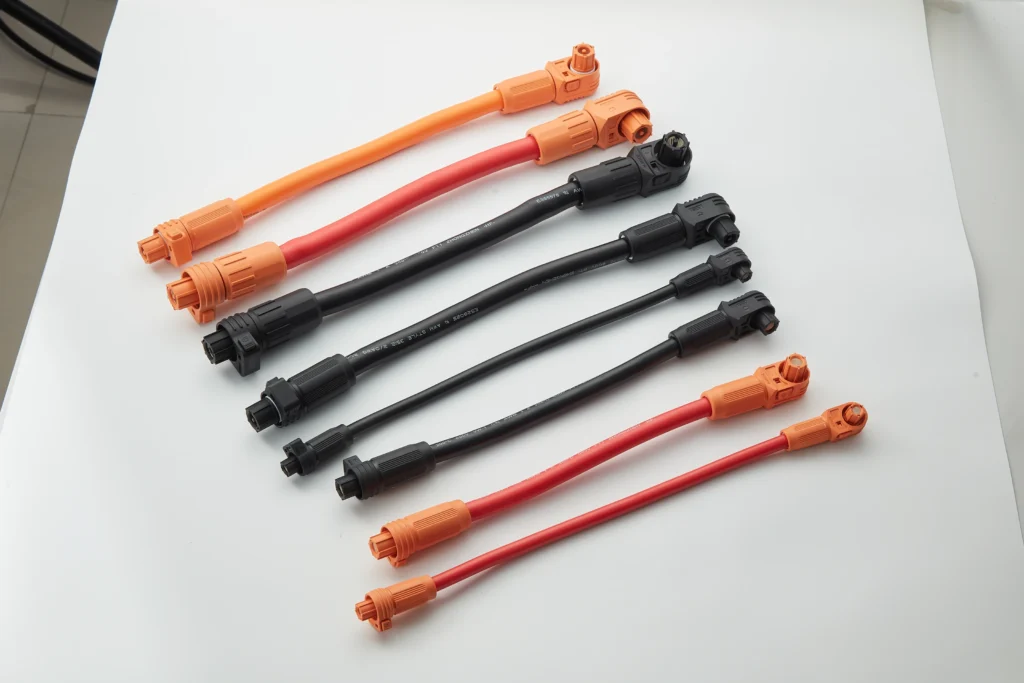
- Power and signal connections
- Cut lengths and end terminations
- Drawing-based cable IDs
- Packing by container
Define the Wiring for Each Container
Start with the equipment layout, wiring drawing and bill of materials (BOM). Identify the cables for each container and the connections the installer will make on site.
- 01
Specify Both Cable Ends
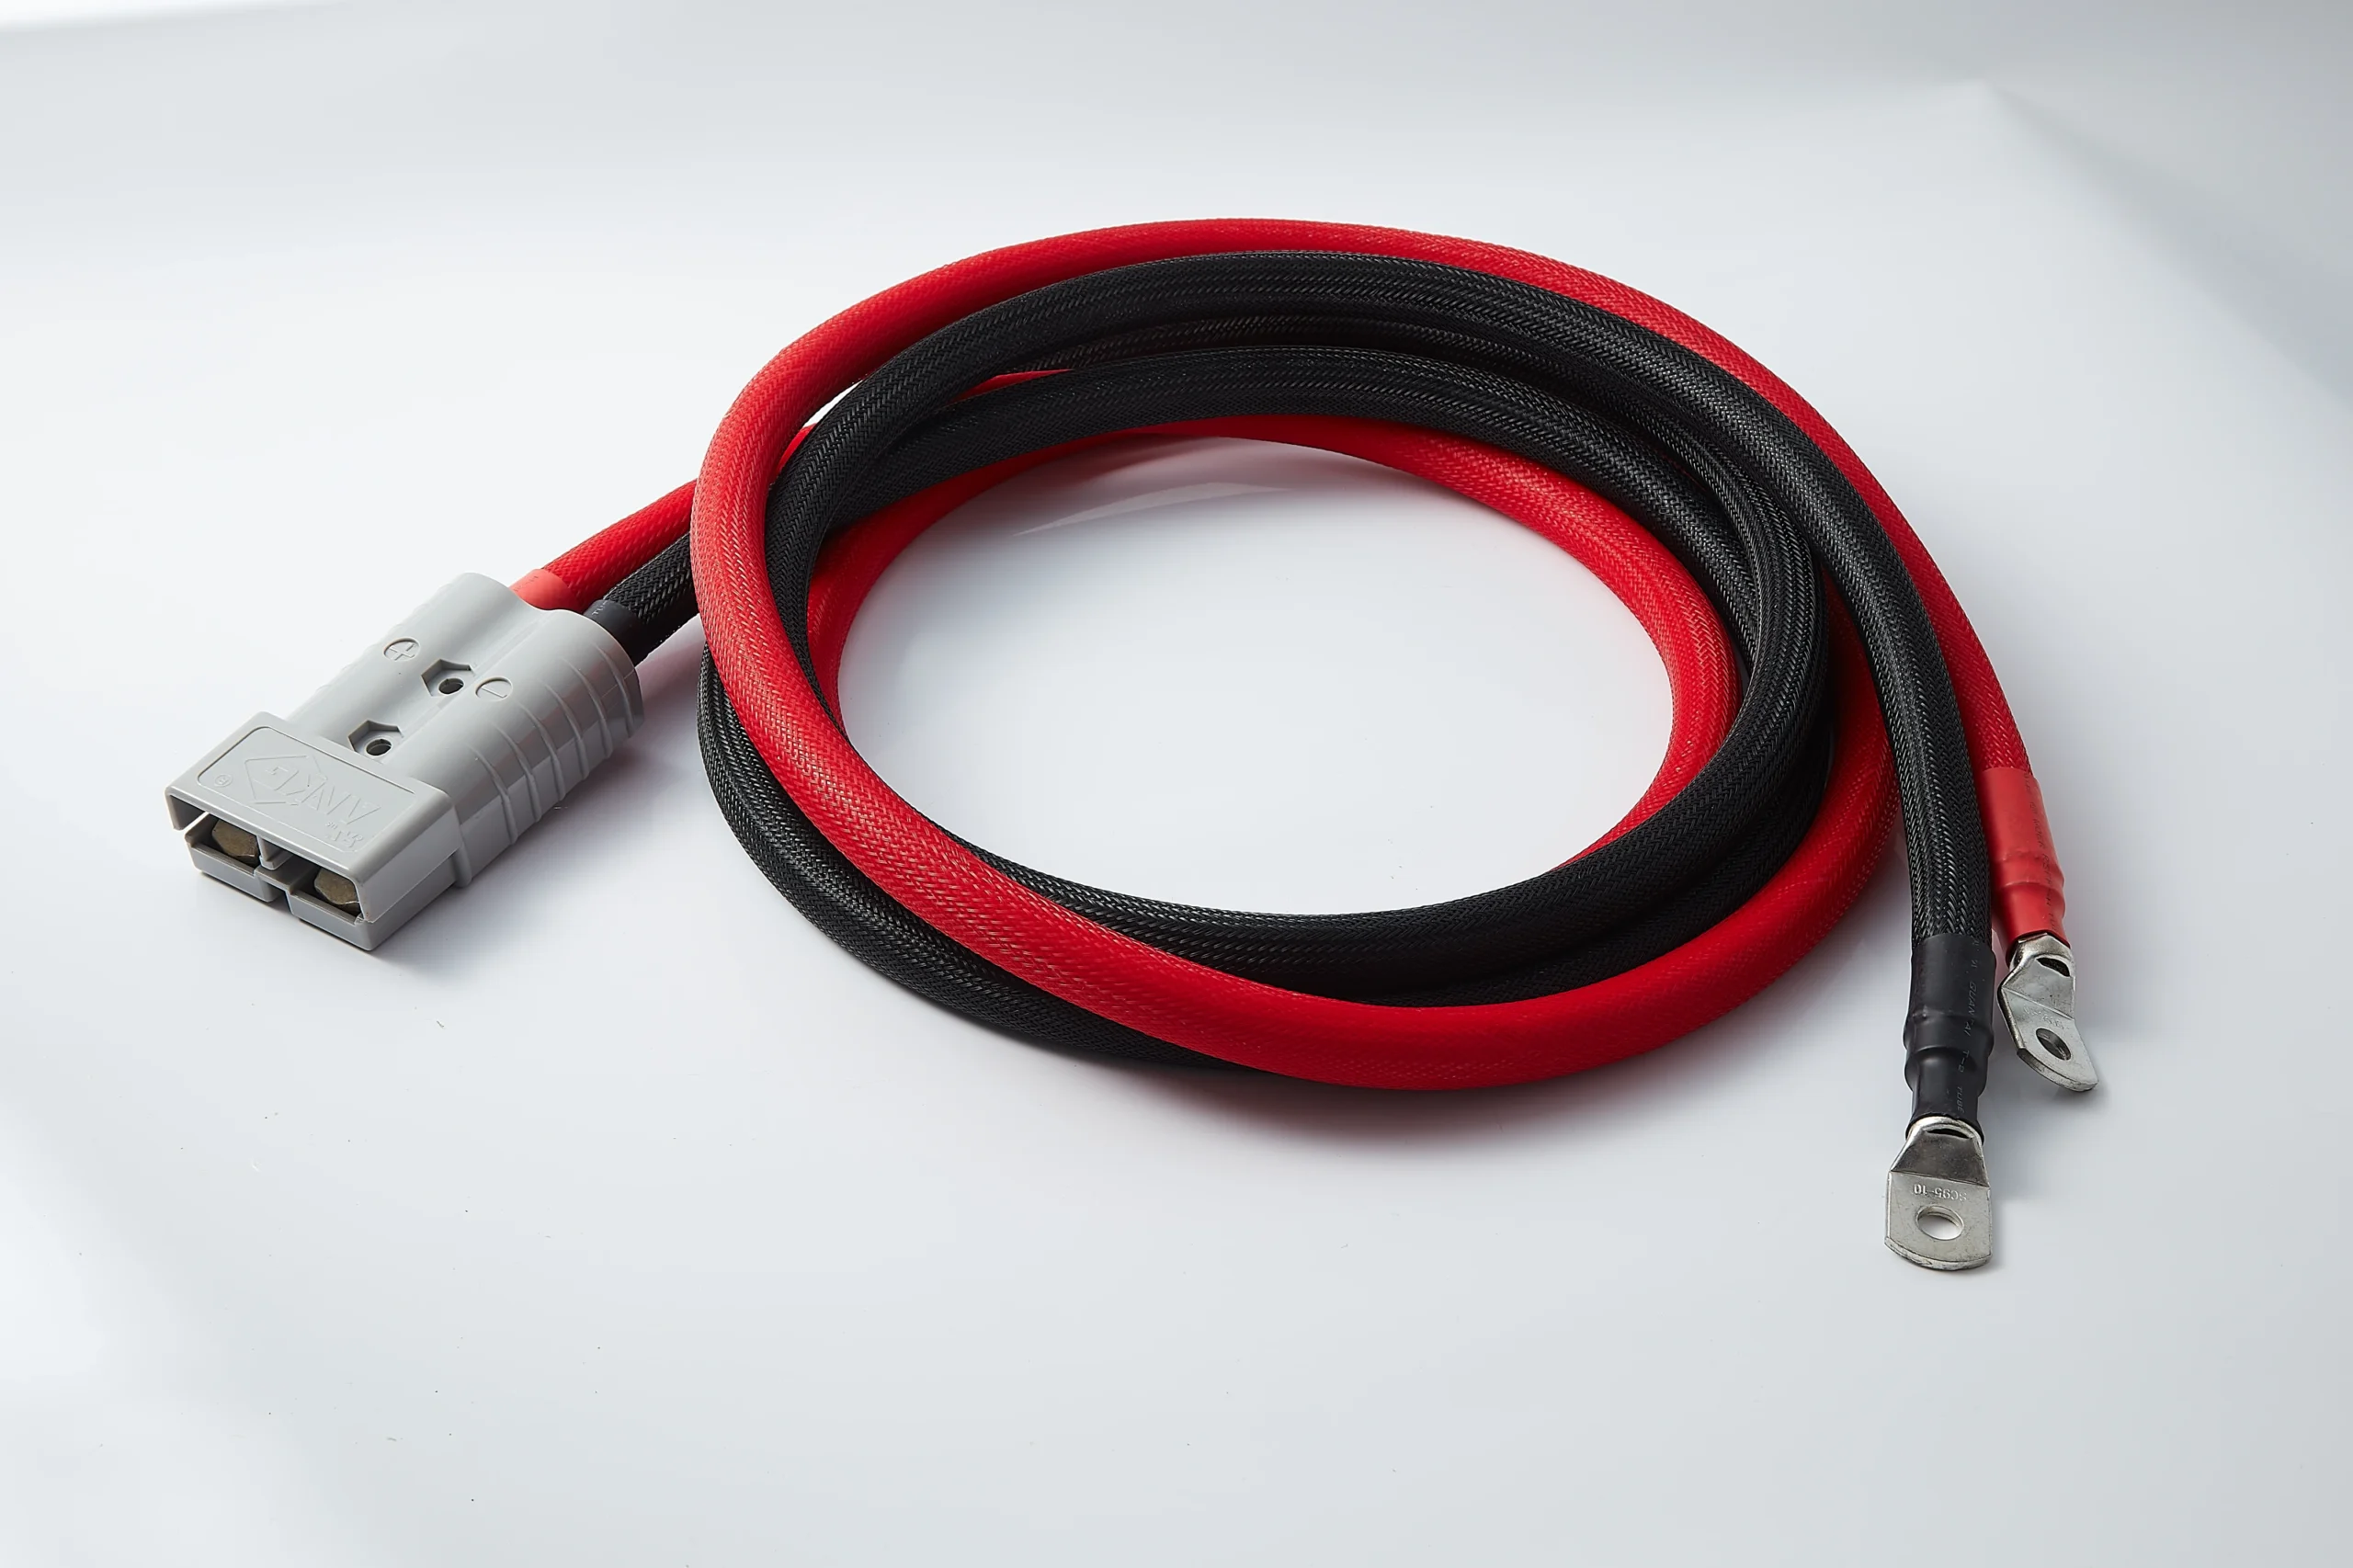
Define the finished length, connector part numbers and cable exits. For a bolted end, specify the lug hole size and orientation at the equipment stud.
- 02
Identify Each Cable from the Wiring Drawing
Match the label to the drawing and BOM. Particularly where leads look similar, specify what the installer needs to identify both ends.
- 03
Pack by Container
Group the required cables by container ID and drawing revision. List the quantity of each assembly so the site crew can check the kit before installation.
What Goes in a Container Kit
Use the circuit list to determine which assemblies belong in each kit. The equipment interfaces and drawing define the electrical and mechanical requirements.
| Assembly | Example use | Drawing details | Label reference | Packing unit |
|---|---|---|---|---|
| DC power cables | Battery rack power connections | Conductor size, insulation, end fittings and polarity | Power drawing and BOM | Per container kit |
| Communication harnesses | Equipment data connections | Pin assignments, cable construction and shield termination if specified | Port list and pin map | Per container kit |
| Monitoring leads | Sensor or status connections | Device connector, branch length and destination | Device list and connection schedule | As listed for the container |
- 01
Match the Drawing
Use the wiring drawing to identify the circuit and the BOM to identify the assembly and revision.
- 02
Check the Circuit Groups
Keep assembly IDs distinct for power, communication and monitoring leads, especially when their connectors look alike.
- 03
Pack by Container ID
Check the packed assemblies and quantities against the kit list. Mark the carton with the container ID and kit revision.
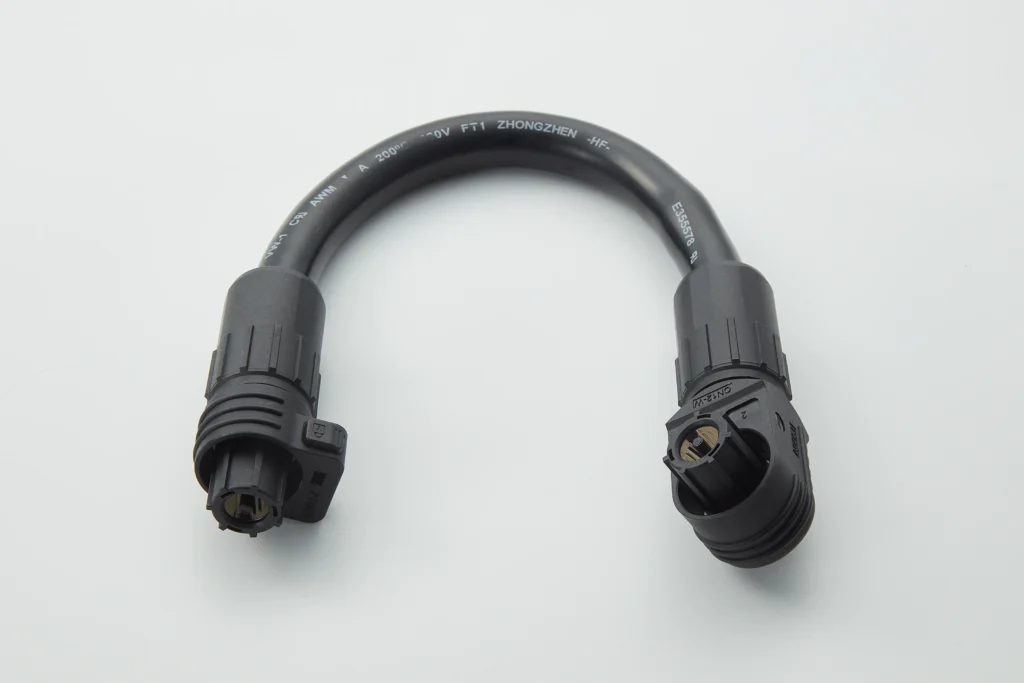
Power Cable End Configurations

Inspection Before Dispatch
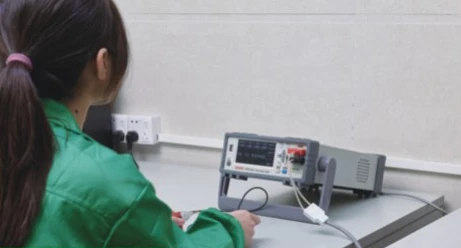
Use the approved wiring drawing, pin map and packing list to define how to inspect the assemblies and the packed set.
- Continuity and polarity
- Check the expected connections against the pin map. Identify any circuits that must remain isolated.
- Specified electrical tests
- For resistance or dielectric withstand checks, agree the test points, method and acceptance limits for the assembly.
- Label and count check
- Match the cable ID and revision to the BOM, then verify that each container kit has the required quantities.

What to Confirm Before Release
Review a complete sample kit against the drawing and the installation plan.
- FitFinished lengths, mating ends and access to equipment connections
- WiringAgreed electrical checks and cable IDs that match the drawing
- CountCorrect assembly quantities and revision for each container
Send Your Drawing for a Quote
Attach a drawing, BOM, specification sheet or sample photos, and describe the application. JTY replies with questions or a quotation.